
It produces a very dry and rough effect, although it does not look very much like a typical tree texture. I decided to look at the wood texturing that is built into Maya. I assigned a Lambert to this tree, which I then applied a "wood" texture to it.

On the group blog, I posted up the rendered images of both the textured trees and then asked the group which one they preferred.
The feedback I got was that the "wood" textured tree was better as it reflected African art better. I was also told to make the texture a lighter shade of brown to reflect real African trees as well.
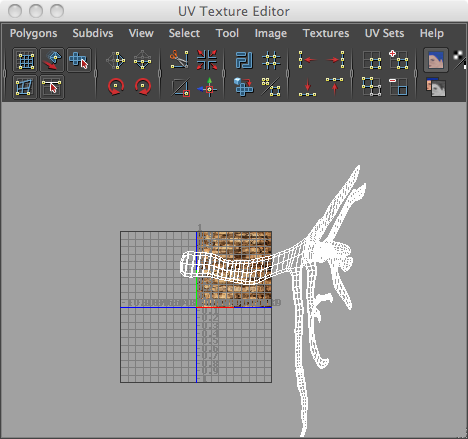
In Maya, I adjusted the wood texture, particularly the Filler Colour, Vein Colour and Vein Spread in order to get rid of the graininess that the texture seems to come with.

The final outcome was this tree which complements the clean cel shaded scheme that we came up with early on in the project, but is still informed by the real life Serengeti.

From doing this, I have learnt not to commit to single texture schemes in a project. I have learnt that it is better off to decide on several forms of texture for a project, as each one has a different advantages and can work together to produce a quality piece of work.
No comments:
Post a Comment