This following shot is a pan shot along a lake which stops at by a wildebeest drinking water. This set was decorated by Perri using the models that had been developed by us as a team and the camera has been set up by Alex.
As texture artist, it was up to me to apply the sky to this scene. How I did this was by going in to the attribute editor of the camera and under Environment, I created an image plane.


In the attributes for the envSky, I configured the colouring and brightness for the texture, namely the sky and sun. I also adjusted the Elevation and Azimuth to put more sun in the scene.

I configured the sky to have a blue texture.

As for the clouds, I knew this involved applying a "Cloud" texture under the Cloud Attributes under the envSky attributes and then increasing the Density but this was not working and I could not understand why.
Anyway, when I rendered the scene through the camera that I applied the envSky1 texture to, this was the outcome.
Obviously the timing of the camera and the scale of the lake may need some work but the sky creates a sense of space in the shot. As for the scene itself, my UV mapping gives the shot a sense of depth compared to if it had been entirely cel shaded. The cel shading of the wildebeest also makes it stand out against the more varied texturing within this scene. In fact if you look at The Lion King, they use a similar method; the animals are made up of quite vivid, clean colours, whereas the scenery varies greatly in the different levels of texture.
Now, when it comes to using a variety of cameras in a particular scene, it is important to keep the continuity in the brightness/colour of the sky as well as the elevation of the sun. There are two ways I could go about this; I could apply a new envSky texture to the next camera and go through all the attributes again making sure they're equal to the previous shot.... or, the quicker solution of assigning and image plane to the camera and simply applying the same envSky texture as I did in the previous shot.
I shall demonstrate that in this shot, which takes place in exactly the same scene.
I create a new image plane for this camera in the attributes editor. In the attributes for the image plane, I increase the depth to around 1000 as I did before.
I looked up the name of the sky texture and it was envSky1. In the Textures field under the Image Plane Attributes, I inputted this name.

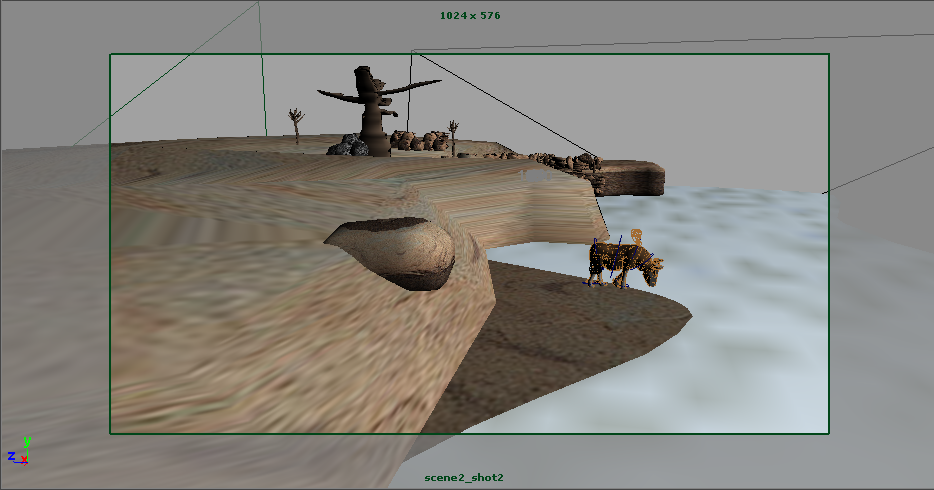
I now have two cameras assigned to exactly the same sky texture and here is the rendered outcome.

I think that this could be useful for if we wanted to key frame the sunrise/sunset but we wanted the cameras to change during this animation, but I will need to do some testing to make sure that is possible.
No comments:
Post a Comment