I have just been given some models of spears and shields that the Masai will hold. I was initially going to apply a black solid colour to the weapons; but it was suggested to me (I can't remember who by) that I experiment with different levels of shade.
Instead of a Solid Colour shader, I applied a toon shader called a Light Angle Two Tone. This meant that the level of colour that was present in the scene would be dependent on how much light is in the scene.
I went for a mixture of brown and black. As this could only work with lighting in the scene, I applied a Directional light.
To test this, I key framed the directional light at frame 25 and I then rotated the light in the opposite direction.
At first the light was rotating in a vertical movement, which did not look like a sunset movement, so I simply added an inbetween keyframe at frame 13 to make the directional light rotate in a more horizontal movement, creating the illusion of a sun setting.
Monday, 20 December 2010
Wednesday, 15 December 2010
Applying the sky to the final scenes
I am now in the process of applying the sky to the final sets. I shall demonstrate how I do this inside the camera, using a shot that we have completed.
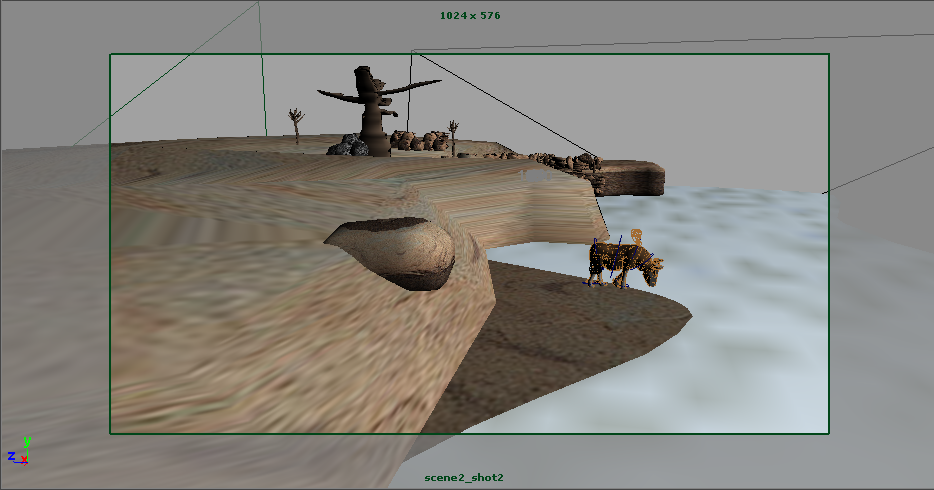
This following shot is a pan shot along a lake which stops at by a wildebeest drinking water. This set was decorated by Perri using the models that had been developed by us as a team and the camera has been set up by Alex.
As texture artist, it was up to me to apply the sky to this scene. How I did this was by going in to the attribute editor of the camera and under Environment, I created an image plane.
In the attributes editor for the image plane, I noticed that the default for the Depth was 100. This was too close to the foreground and it would mean that when I rendered my scene the sky would actually block out most or all of the environment. I set it to 1000 which put the image plane further in the background.
Under the Image Plane Attributes, I assigned the image plane to a new texture, called envSky.
This following shot is a pan shot along a lake which stops at by a wildebeest drinking water. This set was decorated by Perri using the models that had been developed by us as a team and the camera has been set up by Alex.
As texture artist, it was up to me to apply the sky to this scene. How I did this was by going in to the attribute editor of the camera and under Environment, I created an image plane.
In the attributes editor for the image plane, I noticed that the default for the Depth was 100. This was too close to the foreground and it would mean that when I rendered my scene the sky would actually block out most or all of the environment. I set it to 1000 which put the image plane further in the background.
Under the Image Plane Attributes, I assigned the image plane to a new texture, called envSky.
In the attributes for the envSky, I configured the colouring and brightness for the texture, namely the sky and sun. I also adjusted the Elevation and Azimuth to put more sun in the scene.
I configured the sky to have a blue texture.
As for the clouds, I knew this involved applying a "Cloud" texture under the Cloud Attributes under the envSky attributes and then increasing the Density but this was not working and I could not understand why.
Anyway, when I rendered the scene through the camera that I applied the envSky1 texture to, this was the outcome.
Obviously the timing of the camera and the scale of the lake may need some work but the sky creates a sense of space in the shot. As for the scene itself, my UV mapping gives the shot a sense of depth compared to if it had been entirely cel shaded. The cel shading of the wildebeest also makes it stand out against the more varied texturing within this scene. In fact if you look at The Lion King, they use a similar method; the animals are made up of quite vivid, clean colours, whereas the scenery varies greatly in the different levels of texture.
Now, when it comes to using a variety of cameras in a particular scene, it is important to keep the continuity in the brightness/colour of the sky as well as the elevation of the sun. There are two ways I could go about this; I could apply a new envSky texture to the next camera and go through all the attributes again making sure they're equal to the previous shot.... or, the quicker solution of assigning and image plane to the camera and simply applying the same envSky texture as I did in the previous shot.
I shall demonstrate that in this shot, which takes place in exactly the same scene.
I create a new image plane for this camera in the attributes editor. In the attributes for the image plane, I increase the depth to around 1000 as I did before.
I looked up the name of the sky texture and it was envSky1. In the Textures field under the Image Plane Attributes, I inputted this name.
I now have two cameras assigned to exactly the same sky texture and here is the rendered outcome.
I think that this could be useful for if we wanted to key frame the sunrise/sunset but we wanted the cameras to change during this animation, but I will need to do some testing to make sure that is possible.
Tuesday, 14 December 2010
Adding more textures to the set decoration
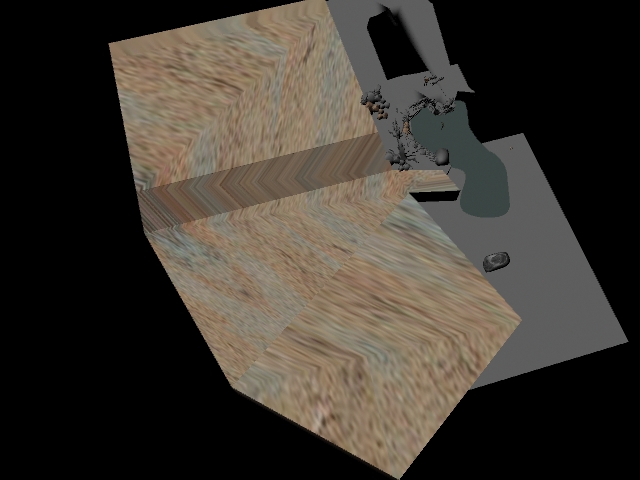
In this post, I shall talk you through the texturing of the set that Perri decorated. She had added in some new terrain, so it was up to me to go in to the scene and amend some of the UV maps.
When I opened the scene, I discovered that a lot of the geometry had not been smoothened and there were some new trees/rocks which had not been previously handed to me for texturing. This meant that I needed to go in and texture a whole load of new models, when I could have just textured once before hand and given them to the set decorator to duplicate.
I imported several of my textures, and then went around the scene and applied them to various rocks and trees. I largely used Spherical Mapping to texture the rocks on the flat surface as they were more three dimensional. As for the rocks along the edge of the shore, I used planar mapping as these would only be visible from one angle.
Although it wasn't really my job, but seen as I know a few tricks in Maya, I smoothened some of the terrain in the scene and extruded some of the faces to tidy it up and make it all fit together.
Friday, 10 December 2010
Tree texturing
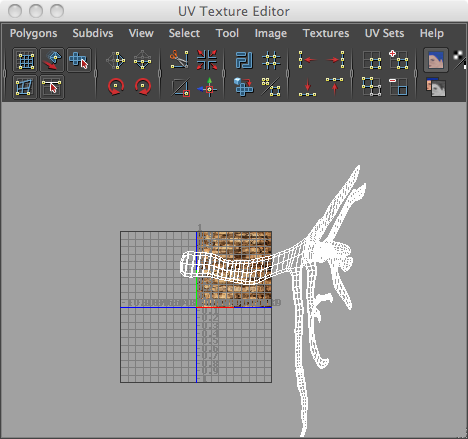
When it came to texturing the trees, I was faced with an interesting decision. I was initially going to texture the tree using UV Mapping, as I had done for the rest of the scenery. I tried texturing the tree using a UV map based on the camera. I then created a PSD Network, which I pasted a tree texture on to.
I scaled the UV Map and rotated to make it fit the tree and this is the outcome.
It produces a very dry and rough effect, although it does not look very much like a typical tree texture. I decided to look at the wood texturing that is built into Maya. I assigned a Lambert to this tree, which I then applied a "wood" texture to it.
On the group blog, I posted up the rendered images of both the textured trees and then asked the group which one they preferred.
The feedback I got was that the "wood" textured tree was better as it reflected African art better. I was also told to make the texture a lighter shade of brown to reflect real African trees as well.
In Maya, I adjusted the wood texture, particularly the Filler Colour, Vein Colour and Vein Spread in order to get rid of the graininess that the texture seems to come with.
The final outcome was this tree which complements the clean cel shaded scheme that we came up with early on in the project, but is still informed by the real life Serengeti.
From doing this, I have learnt not to commit to single texture schemes in a project. I have learnt that it is better off to decide on several forms of texture for a project, as each one has a different advantages and can work together to produce a quality piece of work.
Subscribe to:
Posts (Atom)